|
| After a couple of rounds of hole-filling and fixing various dings and such, I coated the planking with System3 Clear Coat epoxy. I rolled on one coat and then, about an hour later, hot-coated a second one. The transom will be have plenty of varnish on it when the boat is done so I decided to leave that alone. That said, I've given it a good sanding and I'll apply another coat of thinned varnish soon. |
 |
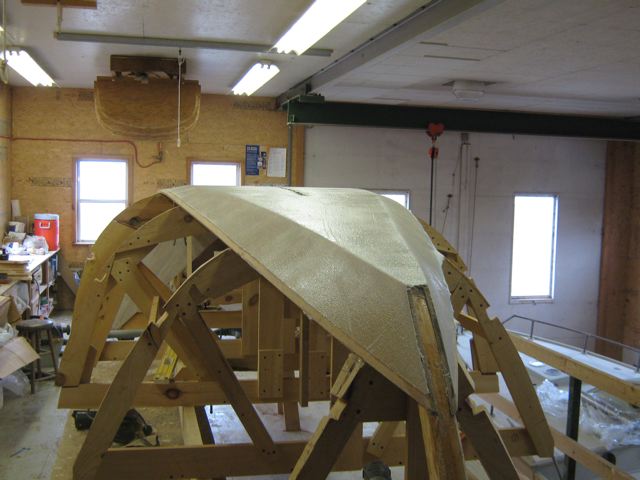
| Here's the forward view showing the coated planks. Two of them have "splotches" of epoxy putty to fair out a flat spot right at one of the molds. Alas, I did NOT catch this unfairness during setup, so I'm paying the price now with some extra fairing work. First I notched-troweled West System epoxy mixed with 407 filler and let that set. After sanding down to fair, I then filled the notches--and any other low spots--with epoxy mixed with a blend of about 50% 407 and 50% 410 filler. Mixing in some 410 makes it easier to sand. |
I also managed to glue the seat risers to the inside of the hull. This turned out to be a bit of a pain, I think next time I'll wait until the hull is flipped over before installing. I don't have a picture of this now, but you'll see them once the hull is flipped over and I get some decent photos of the inside of the boat.
Hmm, it seems to me the photos in the last few posts have been pretty dull, just shots of planking and more planking and epoxy coating. Well, the next batch should, I hope, have some shots of the skeg and outer stem getting put together and on the boat. That'll be more interesting.
Incidentally, one other thing I've also done is note any deviations between the molds--which are based on my original lines drawing and 1:4 lofting--and the final boat. In other words, in some cases to keep the planking nice and fair I allowed small gaps between the molds and the planking. The battens used in planking the boat (shown in previous posts) were very useful in figuring out where to "let go" from the molds. Basically, I trusted (1) my eyes and (2) the batten. That way, if there are any future boats built to this design--hey you never know!--the molds will incorporate these updates. This is part of the "tweaks and updates" to the drawings mentioned on my Sketches & Plans page.
I'm looking forward to getting the remaining work done on the outside of the hull so I can flip the boat over. I hope you are too! That's it for now.