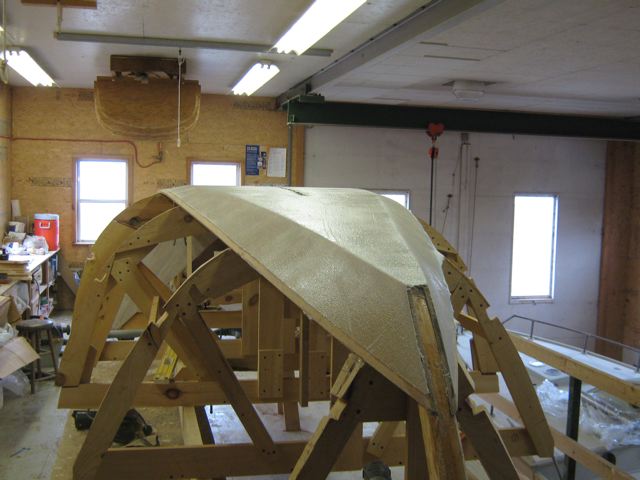
With the second plank cut out and test-fitted, next up is the 'glassing of the bottom and garboards. Actually, I used Dynel cloth, epoxy-saturated, so I suppose 'glassing is not the right term. But the process is the same: cutting the fabric roughly to size, mixing up the epoxy, wetting out the cloth with resin, trimming off the excess cloth with a razor knife after the resin has dried a bit.
 |
| Here's the dynel cloth glued to the bottom/garboards. I'd say dynel is easier to work with than fiberglass cloth, and some say it is more resistant to tearing. In any case, epoxy-saturated dynel over 5/8" ply--not to mention the outer keel, which comes later--will be plenty rugged for this boat. Note the blue tape around the edges that you can see under the dynel. This prevents the epoxy from gluing the rough edges to the boat and gives a clear line for knifing off the excess cloth. |
 |
| Here's the dynel job with the rough edges cut off. Note that the dynel does NOT extend all the way to the end of the plank. That's because the last 1" is beveled for gluing to the next plank; no need to dynel that part. |
 |
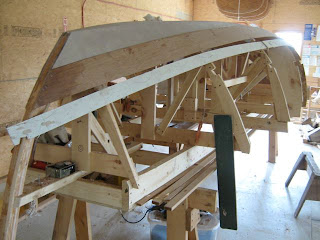
| Here's plank number two going on the boat. As mentioned earlier, this is the first of the 1/4" planks, so it bends quite a bit easier than the 3/8" garboards. |
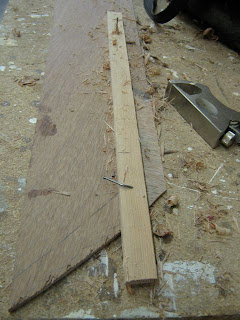 |
| To cut the gain along the edge of the plank, a rabbet plane and a piece of scrap nailed 1" from the edge does the job. |
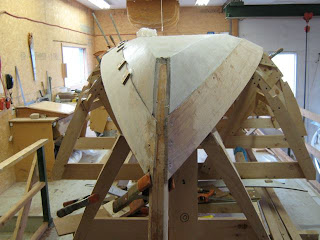 |
| With the first plank glued on, time to do the other side. If you look closely you can just make out the fact that the plank lap "disappears" into the stem; the result of the gains cut in the plank. Recall that once planking is done there will be an outer stem glued and bolted to the inner stem, what you see here is the inner stem. |
 |
| Time to spile the third plank. I found that I was just able to get the third plank out of my scarfed 1/4" plywood sheet, which is not quite 16' long since the scarf "robs" some length, with only about 1/8" to spare. Lucky! For the next three planks, however, I'll need longer sheets for the planking. Since this boat has overhang both bow and stern, the planks get longer as you go along. That'll mean a second scarf to get the total length over 16'. I might have purchased a few 10' sheets of plywood, which are available from some dealers, but I think I'll use what I've got. (Note: The rectangular thing hanging from the mold is a longboard used for sanding hulls and such. I'll try to clean up better in my next batch of pictures!) |
 |
| A piece of left-over 1/4" ply is glued to the end to get the length I need to do the final three planks. I'll need about 16'3"-16'6" for the fourth and fifth planks and 17'0" for the last plank, also known as the sheerstrake. By the way, I'm doing all my scarfing and plank layout and cutting on the floor. Why? Well, there are a lot of advantages to building your boat in a well-equiped boat shop...but I can hardly take away precious bench space from a paying job! I'm building BELLE in my spare time at the shop, it's been a great arrangement for me which I really appreciate. The floor is fine for these jobs. (OK maybe next time I'll make a temporary planking bench from sawhorses...) |
Well the second plank is on. My one concern is my molds are quite far apart (28") and I'm worried the 1/4" ply won't have enough stiffness \ to naturally follow a fair curve between the molds. There was no problem with the 3/8" garboard, but the 1/4" is significantly "floppier". I think I'll try a slightly different technique in gluing up the remaining 1/4" planks. Stay tuned!


No comments:
Post a Comment